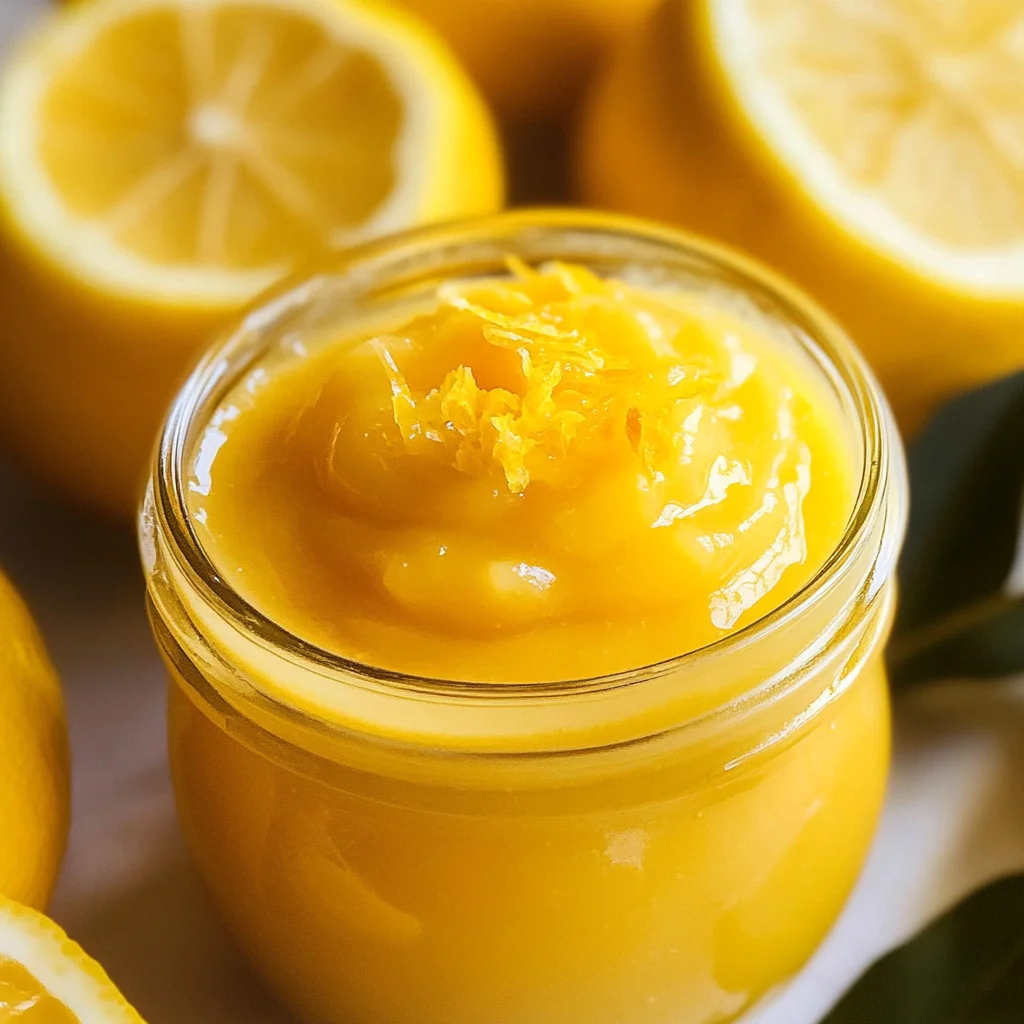
Easy Lemon Curd
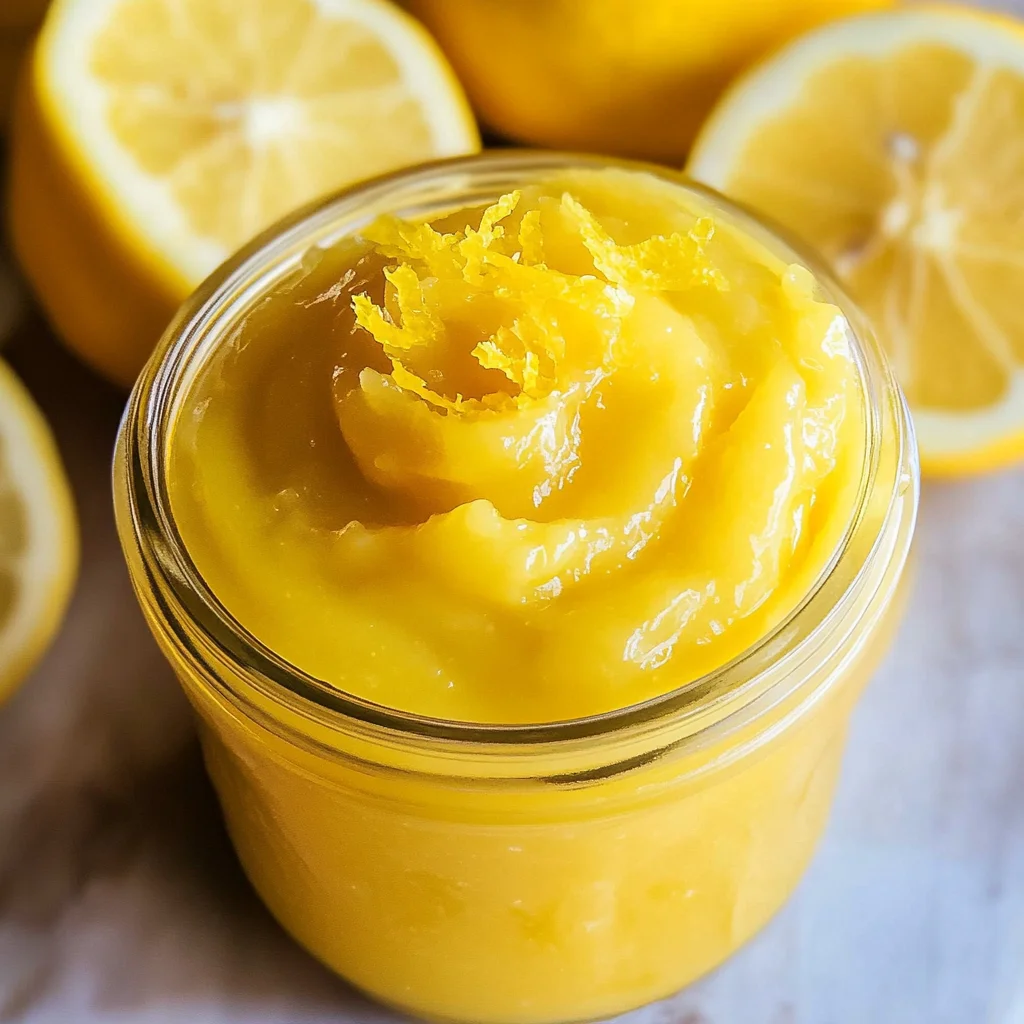
My Easy Lemon Curd recipe is buttery rich, silky smooth and features plenty of citrusy flavors thanks to the fresh lemon juice and lemon zest. This dessert sauce is perfect for a variety of occasions, from topping your favorite cakes to enhancing breakfast pastries. With just four simple ingredients, you can whip up this golden deliciousness that will impress your guests and satisfy your sweet cravings!
Why You’ll Love This Recipe
- Quick to Make: With a prep time of only 5 minutes, you can enjoy homemade lemon curd in no time.
- Versatile Use: Perfect for filling tarts, spreading on toast, or drizzling over desserts.
- Fresh Flavor: The use of fresh lemon juice and zest ensures a vibrant citrus taste that brightens up any dish.
- Rich Texture: Achieve a silky smooth curd that enhances the overall experience of your favorite desserts.
Tools and Preparation
To prepare this delightful Easy Lemon Curd, you’ll need a few essential tools to ensure success in the kitchen.
Essential Tools and Equipment
- Medium-sized saucepan
- Heatproof mixing bowl
- Whisk
- Fine mesh sieve
- Plastic wrap
Importance of Each Tool
- Medium-sized saucepan: Ideal for creating a double boiler effect, ensuring even heating without direct contact with flame.
- Heatproof mixing bowl: Allows for safe mixing of ingredients while over simmering water.
- Fine mesh sieve: Ensures a smooth texture by straining out any lumps or curdled bits.

Ingredients
To make this delightful Easy Lemon Curd, gather the following ingredients:
For the Curd
- 1 cup lemon juice, freshly squeezed (~5-6 lemons)
- 1 Tbsp. lemon zest, (~from 2 lemons)
- 1 3/4 cups sugar
- 4 large eggs
- 1/2 cup salted butter
How to Make Easy Lemon Curd
Step 1: Prepare Your Double Boiler
Fill a medium-sized saucepan with 2 inches of water. Bring to a boil over high heat. Then turn the heat down to medium-low so the water is at a simmer.
Step 2: Mix Ingredients
Whisk together the lemon juice, lemon zest, sugar, and eggs in a heatproof mixing bowl. Slice the butter into cubes and add it to the egg mixture.
Step 3: Cook the Curd
Place the bowl over the simmering water and get ready for a little arm workout! Whisk continuously for about 20-25 minutes or until the curd begins to thicken. The curd might appear curdled from the butter at first, but it will smooth out as you continue to whisk.
Step 4: Check Consistency
This makes a big batch of lemon curd (2 cups), which is why it takes some time to thicken. I like to check the temperature with a thermometer; you’ll know it’s done when it reaches 170°F or can coat the back of a spoon.
Step 5: Strain and Cool
Strain the curd through a fine mesh sieve into a glass bowl. Cover with plastic wrap, pressing it directly on the warm curd to prevent film formation (this is called contact wrapping).
Step 6: Chill Before Serving
Allow the curd to cool at room temperature. Then transfer it to the fridge to cool completely for at least 4 hours or overnight. The curd thickens further as it cools, so give it plenty of time before using.
Step 7: Store Your Curd
Refrigerate the curd in sealed glass jars for up to one week. Enjoy your delicious Easy Lemon Curd!
How to Serve Easy Lemon Curd
Easy Lemon Curd is a versatile treat that can enhance many desserts and dishes. Whether you’re looking to add a zesty kick to your breakfast or elevate a dessert, there are countless ways to enjoy this luscious curd.
On Toast
- Toasted bread: Spread a generous layer of lemon curd on warm, toasted bread for a refreshing breakfast or snack.
- English muffins: Top split English muffins with lemon curd for a delightful twist on your morning routine.
With Scones
- Freshly baked scones: Serve lemon curd alongside warm scones for a classic pairing that perfectly balances sweetness and tang.
- Cream cheese spread: Mix lemon curd with cream cheese for an extra creamy topping on your scones.
In Desserts
- Over cheesecake: Drizzle lemon curd over a rich cheesecake to add brightness and flavor contrast.
- For parfaits: Layer lemon curd with yogurt and granola in a glass for an easy and beautiful dessert.
As a Filling
- In cakes: Use lemon curd as a filling between cake layers for an added burst of citrus flavor.
- For tart shells: Fill pre-baked tart shells with lemon curd, then top with fresh fruit for a stunning dessert.
How to Perfect Easy Lemon Curd
To achieve the best texture and flavor in your Easy Lemon Curd, follow these helpful tips.
- Fresh Ingredients: Always use fresh lemons for juice and zest. The quality of the lemons significantly impacts the final taste.
- Constant Whisking: Continuously whisk while cooking to prevent the eggs from scrambling and ensure a smooth texture.
- Temperature Check: Use a thermometer to monitor the temperature; aim for 170°F for perfect thickening without overcooking.
- Contact Wrapping: Press plastic wrap directly onto the surface of the warm curd before cooling to avoid film formation.
- Allow Cooling Time: Let the curd cool at room temperature before refrigerating it. This step helps it set properly.
Best Side Dishes for Easy Lemon Curd
Easy Lemon Curd pairs beautifully with various side dishes. Here are some ideas to enhance your meal or snack experience:
- Fresh Fruit Salad – A mix of seasonal fruits like berries, melons, and citrus complements the tartness of the lemon curd perfectly.
- Plain Yogurt – Creamy yogurt topped with lemon curd creates a simple yet delicious breakfast or snack option.
- Pancakes – Serve fluffy pancakes drizzled with lemon curd instead of syrup for an invigorating breakfast choice.
- Crêpes – Fill delicate crêpes with lemon curd, folding them over or rolling them up for an elegant dessert option.
- Rice Pudding – Stir some lemon curd into warm rice pudding for an unexpected twist on this classic comfort food.
- Shortbread Cookies – Pair buttery shortbread cookies with dollops of lemon curd for a sweet-and-tart bite-sized treat.
Common Mistakes to Avoid
Making Easy Lemon Curd can be simple, but there are a few common pitfalls that can affect your results. Here are some mistakes to watch out for:
- Skipping the Straining Step: Not straining the curd can leave you with bits of egg or zest in your final product. Always strain through a fine mesh sieve for a smooth texture.
- Not Whisking Constantly: If you stop whisking while cooking, the eggs can scramble instead of thicken. Keep whisking steadily for best results.
- Using Overripe Lemons: Overripe lemons may not provide enough acidity. Choose fresh, firm lemons for optimal flavor and brightness.
- Ignoring Temperature Checks: Relying solely on time can lead to undercooked or overcooked curd. Use a thermometer to check for the right temperature of 170°F.
- Cooling Too Quickly: Rapid cooling can cause the curd to remain thin. Allow it to cool gradually at room temperature before refrigerating.
Storage & Reheating Instructions
Refrigerator Storage
- Store in an airtight container or sealed glass jar.
- Keep in the refrigerator for up to 1 week.
Freezing Easy Lemon Curd
- Freeze in airtight containers or freezer bags.
- Can be stored for up to 3 months; ensure to label with date.
Reheating Easy Lemon Curd
- Oven: Place in an oven-safe dish covered with foil at a low temperature until warmed through.
- Microwave: Heat in short bursts (10-15 seconds), stirring frequently until warm.
- Stovetop: Gently warm over low heat while stirring continuously until heated through.
Frequently Asked Questions
If you have questions about making Easy Lemon Curd, you’re not alone. Here are some common inquiries:
How long does Easy Lemon Curd last?
Easy Lemon Curd can last up to 1 week when stored properly in the refrigerator.
Can I freeze Easy Lemon Curd?
Yes, you can freeze Easy Lemon Curd for up to 3 months. Just ensure it’s in an airtight container.
What can I use Easy Lemon Curd for?
You can use Easy Lemon Curd as a topping for cakes, pancakes, or even enjoy it on toast.
How do I know when my lemon curd is done?
Your lemon curd is ready when it reaches 170°F or coats the back of a spoon nicely.
Can I adjust the sweetness of Easy Lemon Curd?
Yes, feel free to reduce or increase the sugar based on your taste preference!
Final Thoughts
This Easy Lemon Curd recipe is not only rich and buttery but also incredibly versatile. It’s perfect as a filling for pastries or as a delightful topping on desserts. Feel free to customize it by adding different citrus flavors like lime or orange for an exciting twist!
Easy Lemon Curd

Indulge in the delightful taste of Easy Lemon Curd, a rich and tangy dessert sauce that adds a zesty flair to your favorite dishes. This silky-smooth curd is made with fresh lemon juice and zest, creating a burst of citrus flavor that brightens up anything it touches. Perfect as a filling for cakes and tarts or simply spread on toast, this versatile treat is ideal for any occasion. With just four simple ingredients and minimal prep time, you can whip up this golden delicacy that will leave your guests impressed and craving more.
- Prep Time: 5 minutes
- Cook Time: 25 minutes
- Total Time: 30 minutes
- Yield: Approximately 2 cups (16 servings) 1x
- Category: Dessert
- Method: Cooking
- Cuisine: American
Ingredients
- 1 cup freshly squeezed lemon juice (about 5–6 lemons)
- 1 Tbsp lemon zest (from about 2 lemons)
- 1 3/4 cups granulated sugar
- 4 large eggs
- 1/2 cup salted butter (cut into cubes)
Instructions
- Create a double boiler by filling a medium-sized saucepan with 2 inches of water and bringing it to a boil. Lower the heat to maintain a gentle simmer.
- In a heatproof mixing bowl, whisk together the lemon juice, lemon zest, sugar, and eggs until well combined. Add the cubed butter.
- Place the bowl over the simmering water, whisking continuously for about 20-25 minutes until thickened (aim for 170°F).
- Strain the curd through a fine mesh sieve into another bowl to remove any lumps.
- Cover with plastic wrap directly on the surface of the curd to prevent film formation and let it cool at room temperature before refrigerating for at least 4 hours.
Nutrition
- Serving Size: 15g
- Calories: 59
- Sugar: 9g
- Sodium: 34mg
- Fat: 3g
- Saturated Fat: 2g
- Unsaturated Fat: 1g
- Trans Fat: 0g
- Carbohydrates: 8g
- Fiber: 0g
- Protein: <1g
- Cholesterol: 31mg